Working with Sections: Creation, Management and Templates
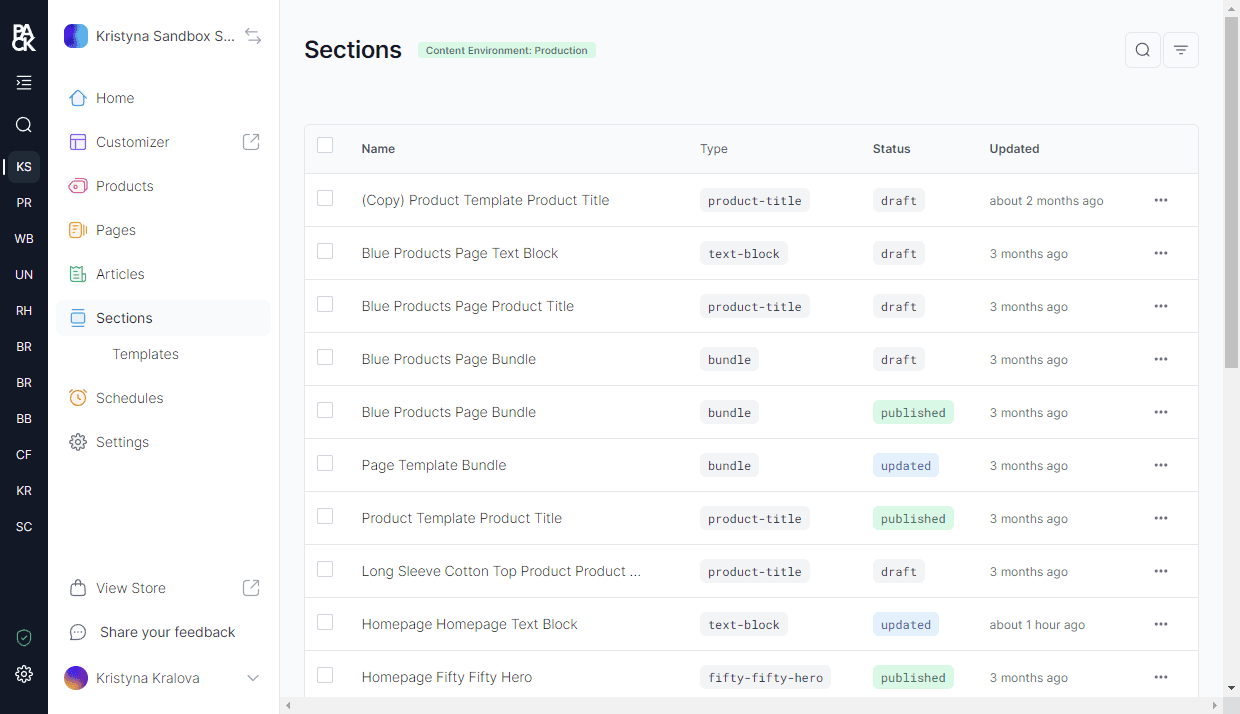
You can view all of your sections via Pack’s Admin > Sections, and manage them in Pack’s Customizer.
Local Sections
Local sections are unique, and only appear on one page. By default, any new section you create the customizer will be a local section.
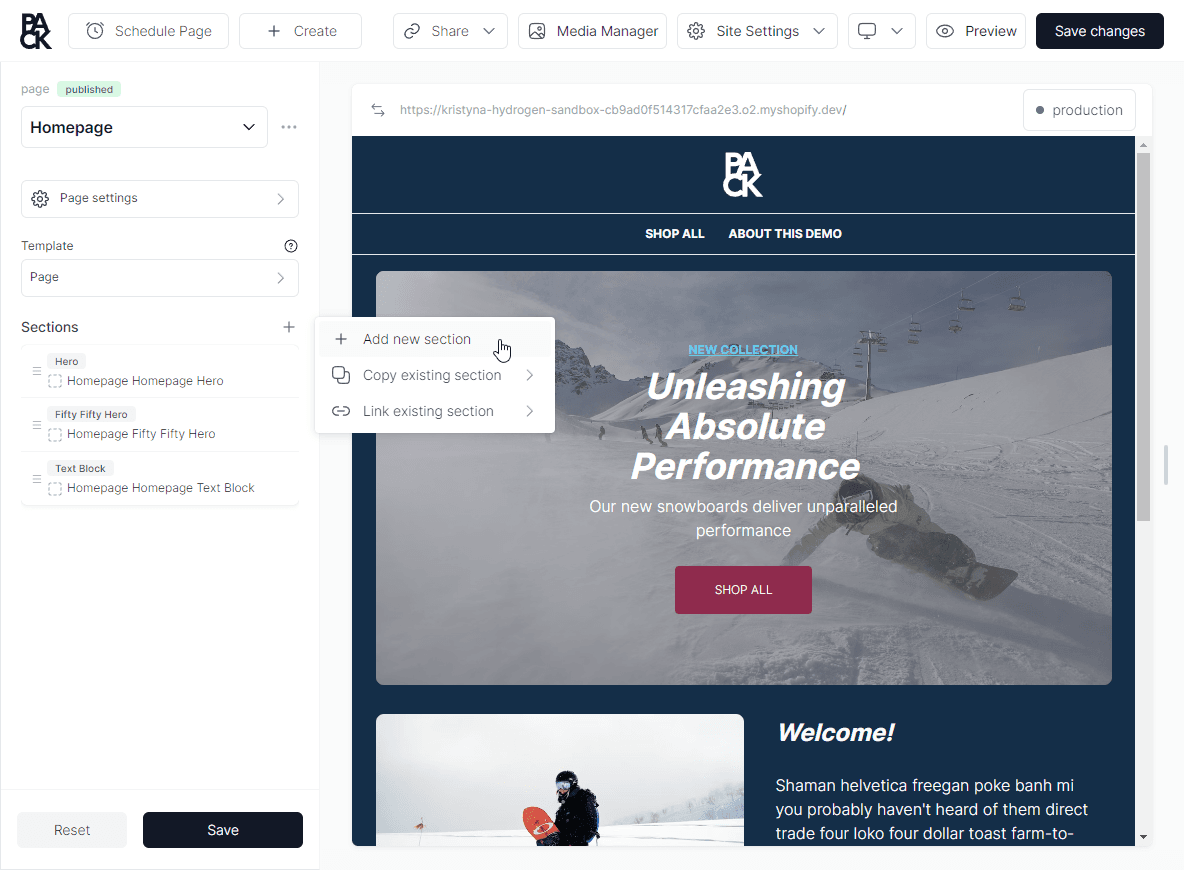
- Select Customizer in Pack's admin.
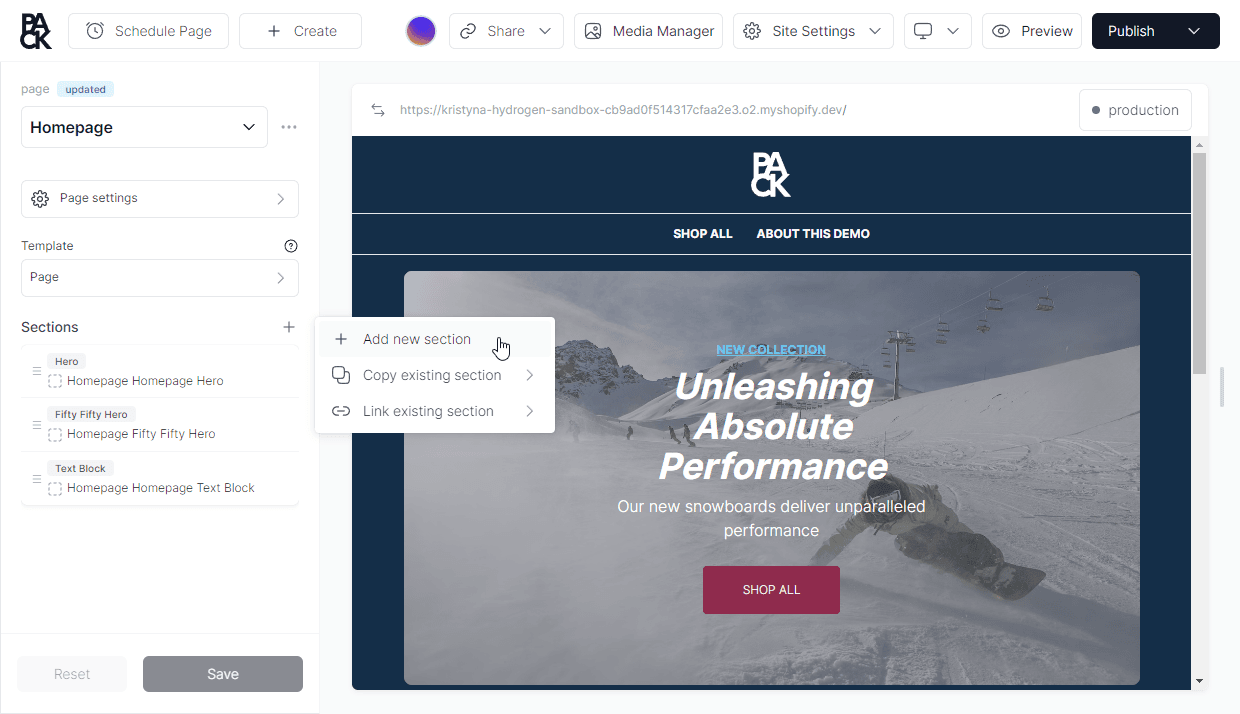
- Find the Sections menu on the left panel and click the +
- Click Add New Section
- Choose the section(s) you want to add; multiple selections are possible.
- Advanced users have the option to add an HTML section to create a section from scratch using HTML.
- Click Add Selected
- Click on the new section to start editing it.
You can edit, duplicate, or delete, your section by clicking the three dots next to the Page dropdown menu—located at the top of the left hand panel.
Copying a Section
You can create an independent copy of an existing, populated section from another page. This process creates a distinct version of the section. When you make edits to the copy of your section, your changes will not affect the original version.
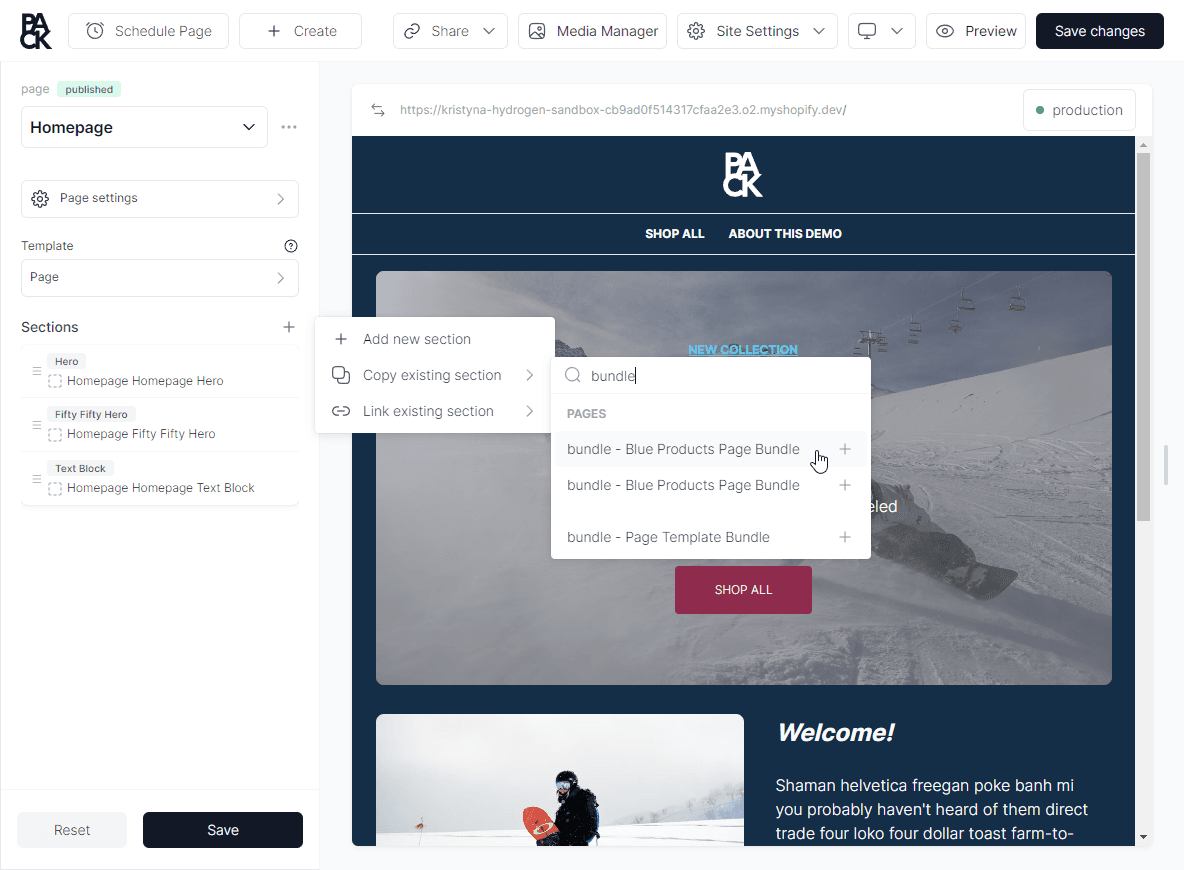
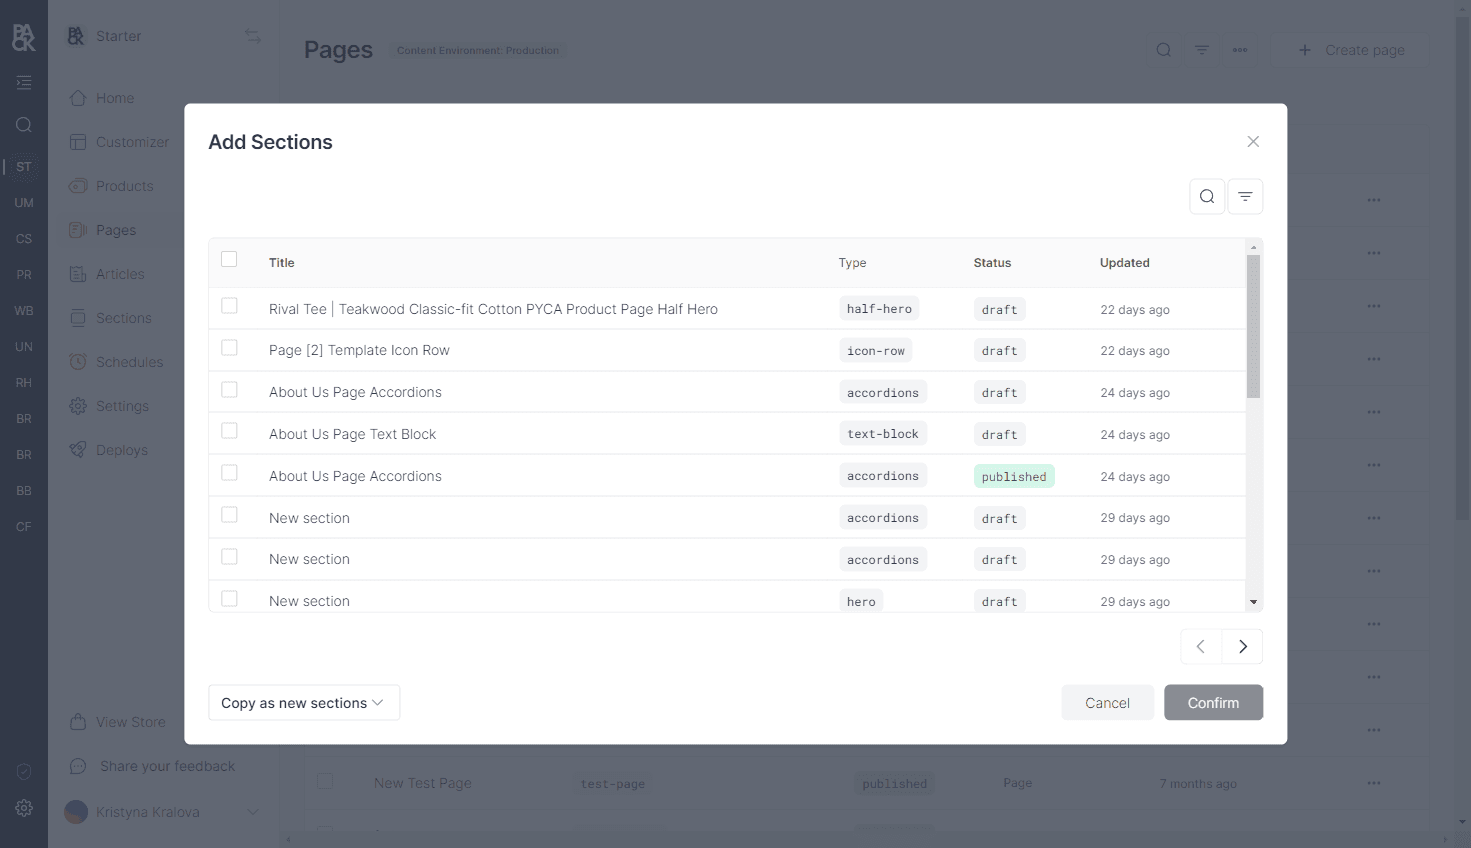
- Select Customizer in Pack's admin.
- Find the Sections menu on the left panel and click the +
- Select Copy Existing Section
- Find the section you want to copy by name and select it to create a unique copy.
- Click on the new section to start editing it.
Linking a Section
When you link a section, you’re adding a pre-existing, populated section from another page to your current page. This creates a link between the sections, displaying identical content on both pages.
Any edits made to a linked section will be reflected on all pages where it's displayed, due to its 'linked' nature.
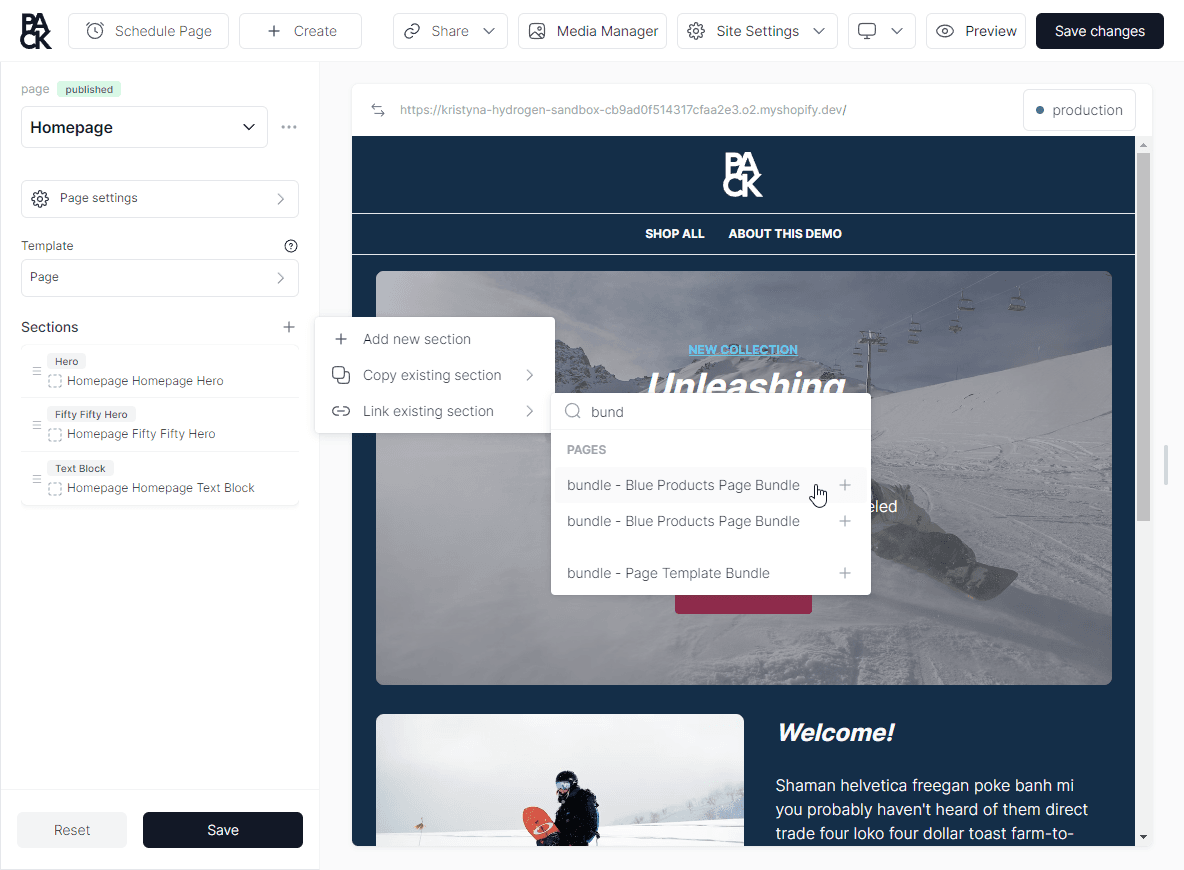
- Select Customizer in Pack’s admin.
- Find the Sections menu on the left panel and click the +
- Select Link Existing Section
- Search for the existing section by name and click to link it.
When you delete a linked section, you’ll need to re-add it, customize it, and re-link it to all of your pages.
Nested Sections
Nested sections let editors add a section as a block inside another section, rather than as a top-level section on a page. This is useful when you have a reusable content unit — a promo banner, a feature card, a CTA — that needs to appear inside other sections (e.g., inside a grid, accordion, or carousel) and stay in sync wherever it's used.
Nested sections require a developer to enable the feature on a section's blocks field. See Section schema → Blocks Field for the schema configuration.
Adding a nested section
Once your developer has enabled section types on a blocks field, the field's picker will offer two new options alongside the normal inline blocks:
- Section types — creates a brand-new section of the chosen type, linked into this block.
- Insert from Library — embeds an existing section from your store as a block.
Local vs linked nested sections
Just like top-level sections, nested sections can be local (used in one place) or linked (used in multiple places).
- A nested section with a gray icon is local — only this block references it.
- A nested section with a purple icon and colored label is linked — it appears elsewhere too.
When you expand a linked nested section, a banner reminds you that your changes will apply everywhere it's used.
Editing a nested section
Click into a nested section block to drill into its full editor — the same one you'd see for a top-level section. Use the action menu (the ⋯) to rename the block.
Renaming a nested section updates its title everywhere — the rename is on the underlying section, not the reference.
Publishing
When you publish a parent section (or the page it lives on), Pack automatically publishes any nested sections inside it that have draft changes. You don't need to manually track which children need to ship — the modal will tell you how many nested sections are included.
Unpublishing a parent does NOT unpublish nested sections. Because a nested section may be used in other places, Pack leaves it published so it stays live wherever else it's referenced. To take a nested section fully offline, unpublish it directly from the Sections admin.
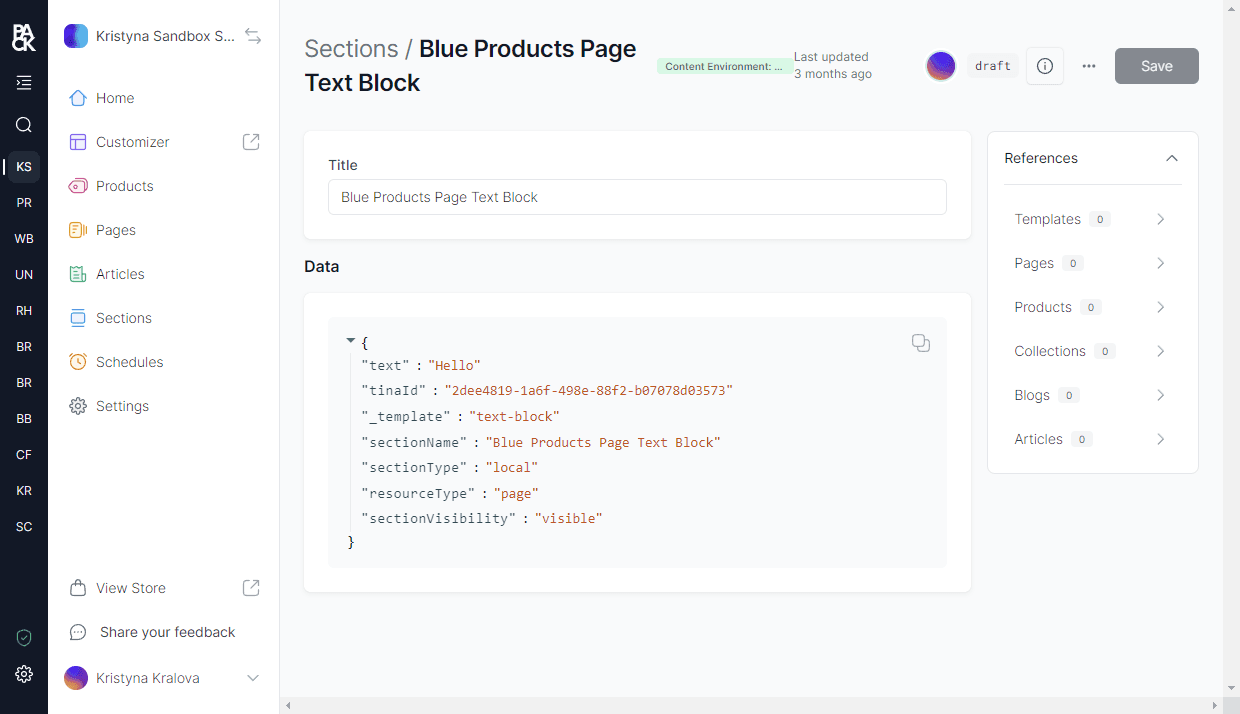
References card
Open a section's detail page in the Sections admin to see the References card. It shows which pages, templates, products, collections, blogs, articles, and other sections reference this one. Click any row to navigate to the parent.
Depth limit
Nested sections can be nested up to three levels deep. Past that, the picker will hide section types — only inline blocks can be added.
Section Templates
Section Templates simplify content management for your e-commerce site by letting you apply and update key sections—like banners, product highlights, or promotions—across multiple pages at once. Make a change in one place, and it instantly updates everywhere, ensuring a consistent shopping experience while saving you time and effort.

Applying a Section Template to a page
You can simply change or apply a section template to a page by following these steps:
- Go to the Customizer.
- Click on the Section Template button above the sections.
- Select the desired section template from the list.
- Click Save button.

Making section changes apply for all pages
When you want to make changes to a section that is part of a Section Template and have it apply to all pages that use the template, you can do so editing the section in the Section Template list.
To do this, click the Section Template button above the sections, find the section you want to edit, customize the content, and save.
Making changes apply to a specific page
You can customize the content of a section within a Section Template for a specific page without impacting other pages.
To do this, in the page’s section list, find the section that belongs to the Section Template, customize the content to fit your needs, and save.
You will get an notification that the section has been customized for this page.

The section will now be marked as customized, indicated by the dashed border and broken chain icon, and changes made to the section is unique to this page.

Reverting specific page changes
If you have customized a section for a specific page and want to revert the changes to match the Section Template, find the section in the page's section list, click the action menu, and select Reset changes.

Section Template Section Visibility
When you apply a Section Template to a page, all sections within the template will be added to the page. You can choose to hide the section per page or for all pages that use the template.
To hide a section for a specific page, find the section in the page's section list, click the action menu, and select Hide section on page.

To hide a section on all pages, click the Section Template button above the sections, find the section you want to hide, click the action menu, and select Hide section.

Adding a New Section
You can add a new section via Customizer.
To add a section to multiple pages, follow these steps:
- Navigate to Pack's admin, then select Pages.
- Check the box next to all the pages you want to add the section to.
- Click on the three dots at the top of the page list and select Add sections.
Publishing and Unpublishing Sections
Publishing and unpublishing sections allows you to control the visibility of specific content elements across your storefront or shop.
This feature is particularly valuable for managing dynamic content, such as promotional banners, seasonal messages, or time-sensitive announcements.
When you publish a section:
- The section becomes visible on all pages where it is used.
- This is ideal for displaying content like promotional banners, which you might want to appear across multiple pages at the same time.
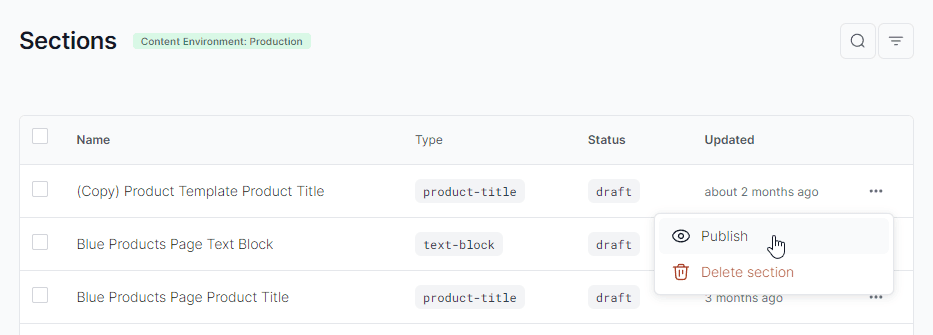
To publish a section:
- Navigate to Pack’s admin, then select Sections.
- Click on the three dots next to the Section name you wish to publish.
- Select Publish.
Hiding a Section
Hiding a section is useful when you want to temporarily remove a section from the live site without deleting it.
- Navigate to Pack's Customizer to the page where the section is located.
- Click on the three dots next to the Section name you wish to hide.
- Select Hide Section.
Deleting a Section
This action is irreversible. The section will be removed from all the pages it's currently being used in.
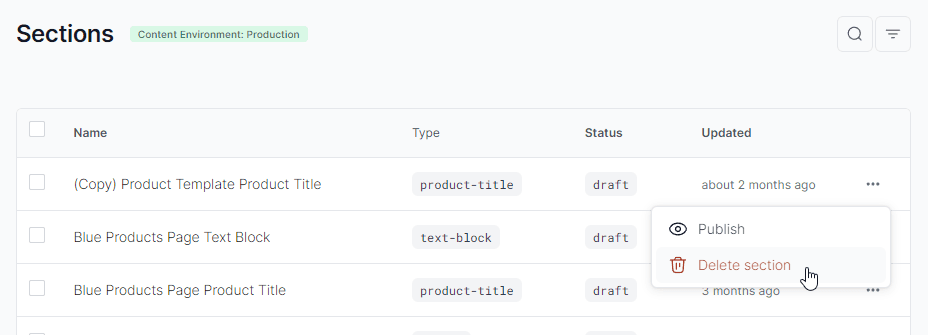
- Navigate to Pack’s admin > Sections.
- Find the section you wish to delete and click on the three dots next to the section name.
- Choose Delete and confirm.
Viewing all pages linked to a specific Section
You can verify which pages are currently using a specific section by following these steps:
- Navigate to Pack’s admin > Sections.
- Click on the particular Section.
- Review the 'References' section which lists all pages the section is currently being used in.
Section Folders
Section Folders help you organize your sections into logical groups, making it easier to find and manage sections as your library grows.
Creating a Folder
- Navigate to Pack's Admin > Sections.
- In the Folders panel, click the + icon in the header.
- Enter a name for your folder and click Save.
Adding Sections to a Folder
You can add sections to folders from the section's action menu:
- Navigate to Pack's Admin > Sections.
- Find the section you want to organize and click the three dots next to its name.
- Select Add to Folder and choose the destination folder.
You can also add sections to folders from the Customizer when working with existing sections.
Filtering by Folder
Once you have sections organized into folders, you can filter to view only sections in a specific folder:
In Admin:
- Navigate to Pack's Admin > Sections.
- Click on a folder name in the Folders panel to filter the section list.
- Click All Sections to view all sections again.
In Customizer:
- Open the Customizer and click + to add a section.
- Select the Existing tab to browse existing sections.
- Expand the Folders section in the sidebar and click a folder name to filter.
Renaming a Folder
- Navigate to Pack's Admin > Sections.
- Hover over the folder you want to rename and click the three dots.
- Select Rename folder and enter the new name.
- Click Save.
Removing Sections from a Folder
- Navigate to Pack's Admin > Sections.
- Find the section you want to remove from its folder and click the three dots.
- Select Remove from Folder.
The section will remain in your library but will no longer appear in that folder.
Deleting a Folder
- Navigate to Pack's Admin > Sections.
- Hover over the folder you want to delete and click the three dots.
- Select Delete folder and confirm.
Deleting a folder does not delete the sections inside it. The sections will remain in your library and can be found in All Sections.
Coding a new section
Sections are React components that have the capability to be rendered and interacted with via Customizer.
Sections allow you, as a developer, to create components that are editable by a storefront editor and have a live preview of your component changing as you edit the storefront or shop. All your sections live in the /sections folder of your codebase.
You can create a new section by adding a new file to the /sections folder. The file should be a .tsx file that exports a React component.
export const MyFirstSection =  ({ cms }: any) => {
  // In this example cms would be { howdy: 'Howdy Label' }
  // defined by its Schema
  return (
     Hello, my name is {cms.howdy}
  );
}

// Section Customizer Schema
MyFirstSection.Schema = {
  label: 'My First Section',
  key: 'myFirstSection',
  fields: [
    {
      name: 'howdy',
      component: 'text',
      label: 'Howdy Label',
    }
  ]
}
The cms prop on the component will match up with your components Schema fields. You can see there is a text component on the Schema field named howdy, which becomes an input text field in the Customizer where its value can now be rendered through your React component. See the full list of available components in the Section Schema API.
Registering your section
The final step to start using your component is to register it in the index.tsx of the /sections folder. This will allow your component to be available in the Customizer.
- Import your section into
/sections/index.tsx. - Add it to the
registerSectionsfunction. - Refresh the Customizer.
import { MyFirstSection } from './MyFirstSection';

export function registerSections() {
  registerSection(MyFirstSection, { name: my-first-section' });
}