Content Scheduling: Automating Future Content Publication
With Pack, you can schedule your content to go live at a specified time. This feature is particularly useful for coordinating new product launches, special promotions, or timed discounts.
By scheduling a page or storefront/shop settings for a specific date and time, Pack will automatically deploy and publish these changes at the designated time.
Schedule a Page
You can add a page to a schedule via the Customizer or Pack’s admin. Please allow up to 15 minutes for the scheduled changes to go live. Wait times will be impacted by your Hydrogen caching policy.
Using the Customizer
- Navigate to the Customizer.
- Make changes to your page.
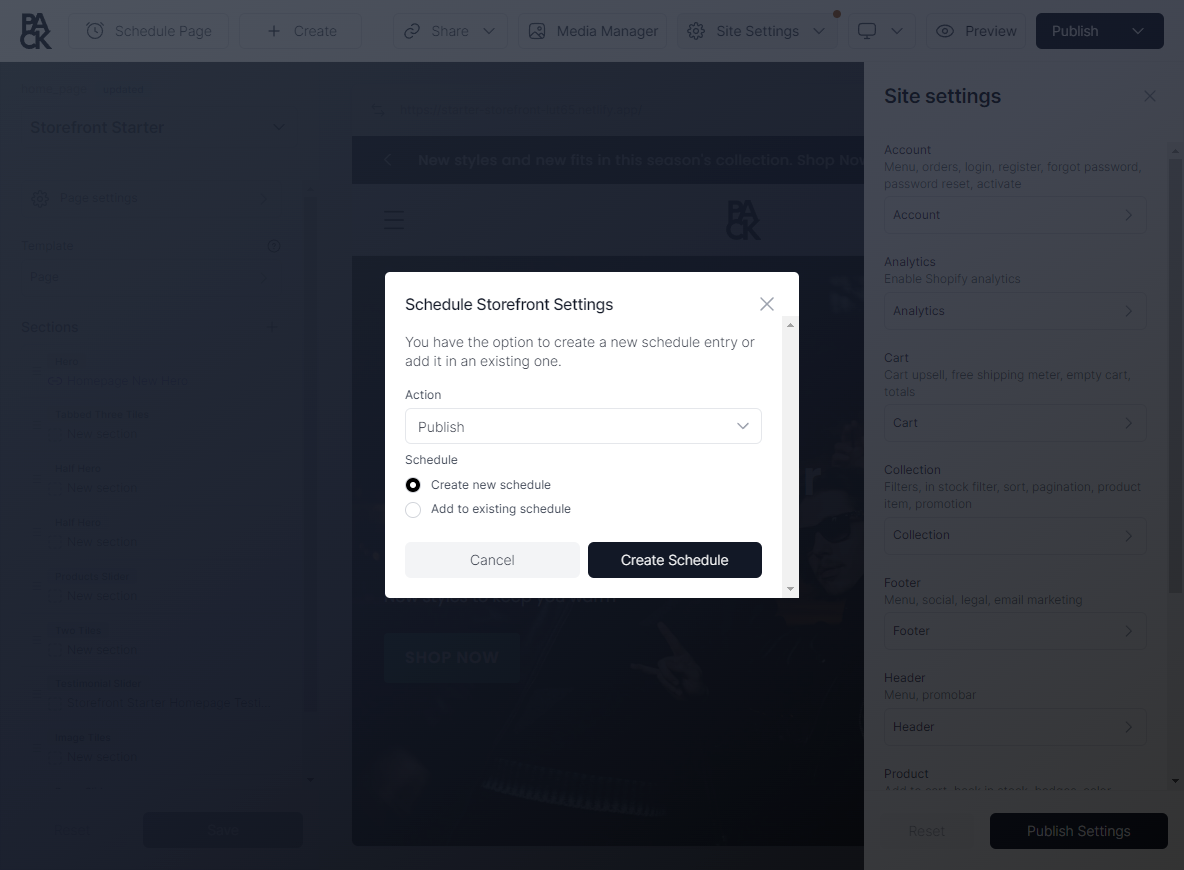
- Select "Schedule Page" in the top left corner.
- Choose to create a new schedule or add to an existing one.
- Confirm your schedule by checking that your page indicates a 'Scheduled' page status.
Using Pack's Admin
- In Pack’s admin, go to Pages.
- Click the three dots next to a page and select Add to Schedule.
- Choose to create a new schedule or add to an existing one.
- All pages under a schedule will be deployed and published at the set time.
Schedule Site Settings
Storefront or shop settings can be scheduled the same way as pages, and can share the same schedule.
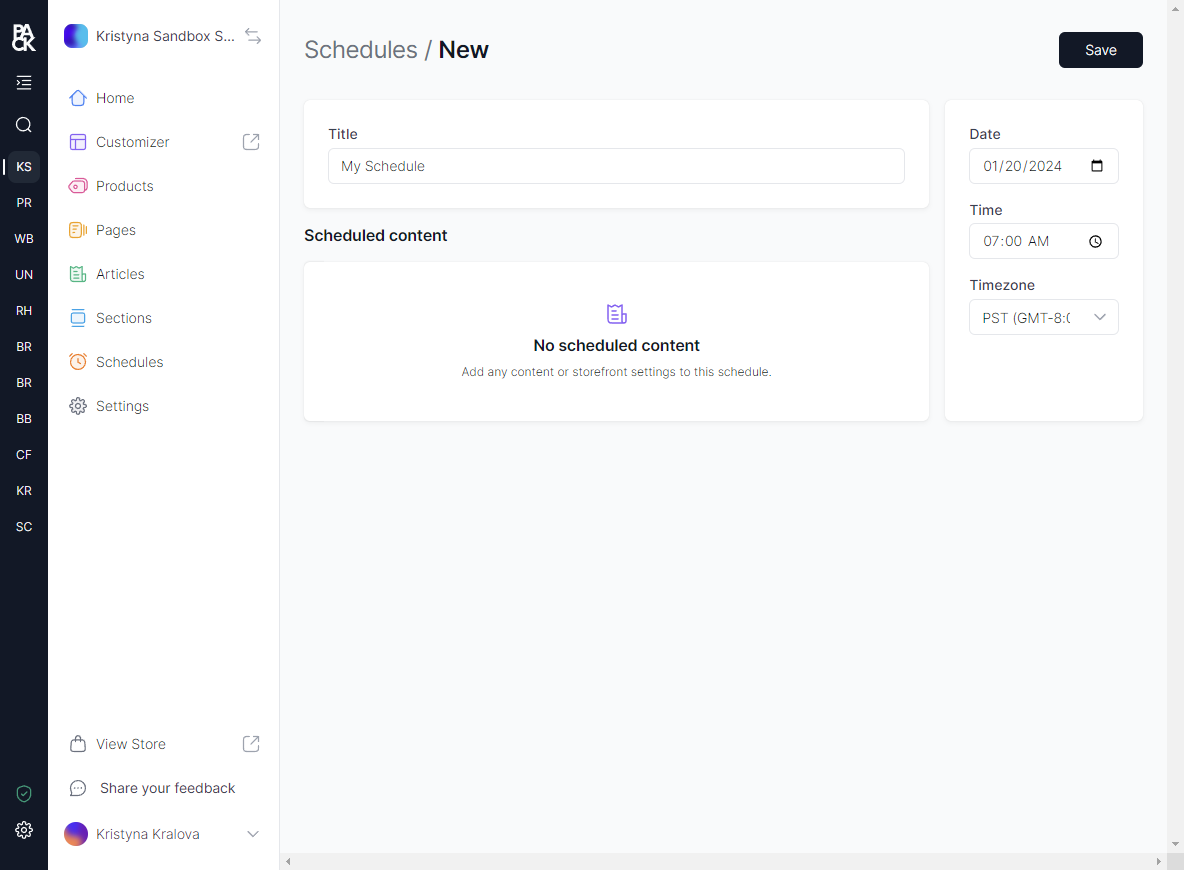
- In Pack’s admin, navigate to Customizer and click on Site Settings.
- Make changes and select Site Settings > Schedule Site Settings.
- Fill out the schedule details, and press "Create Schedule."
Remove Page from a Schedule
Using the Customizer
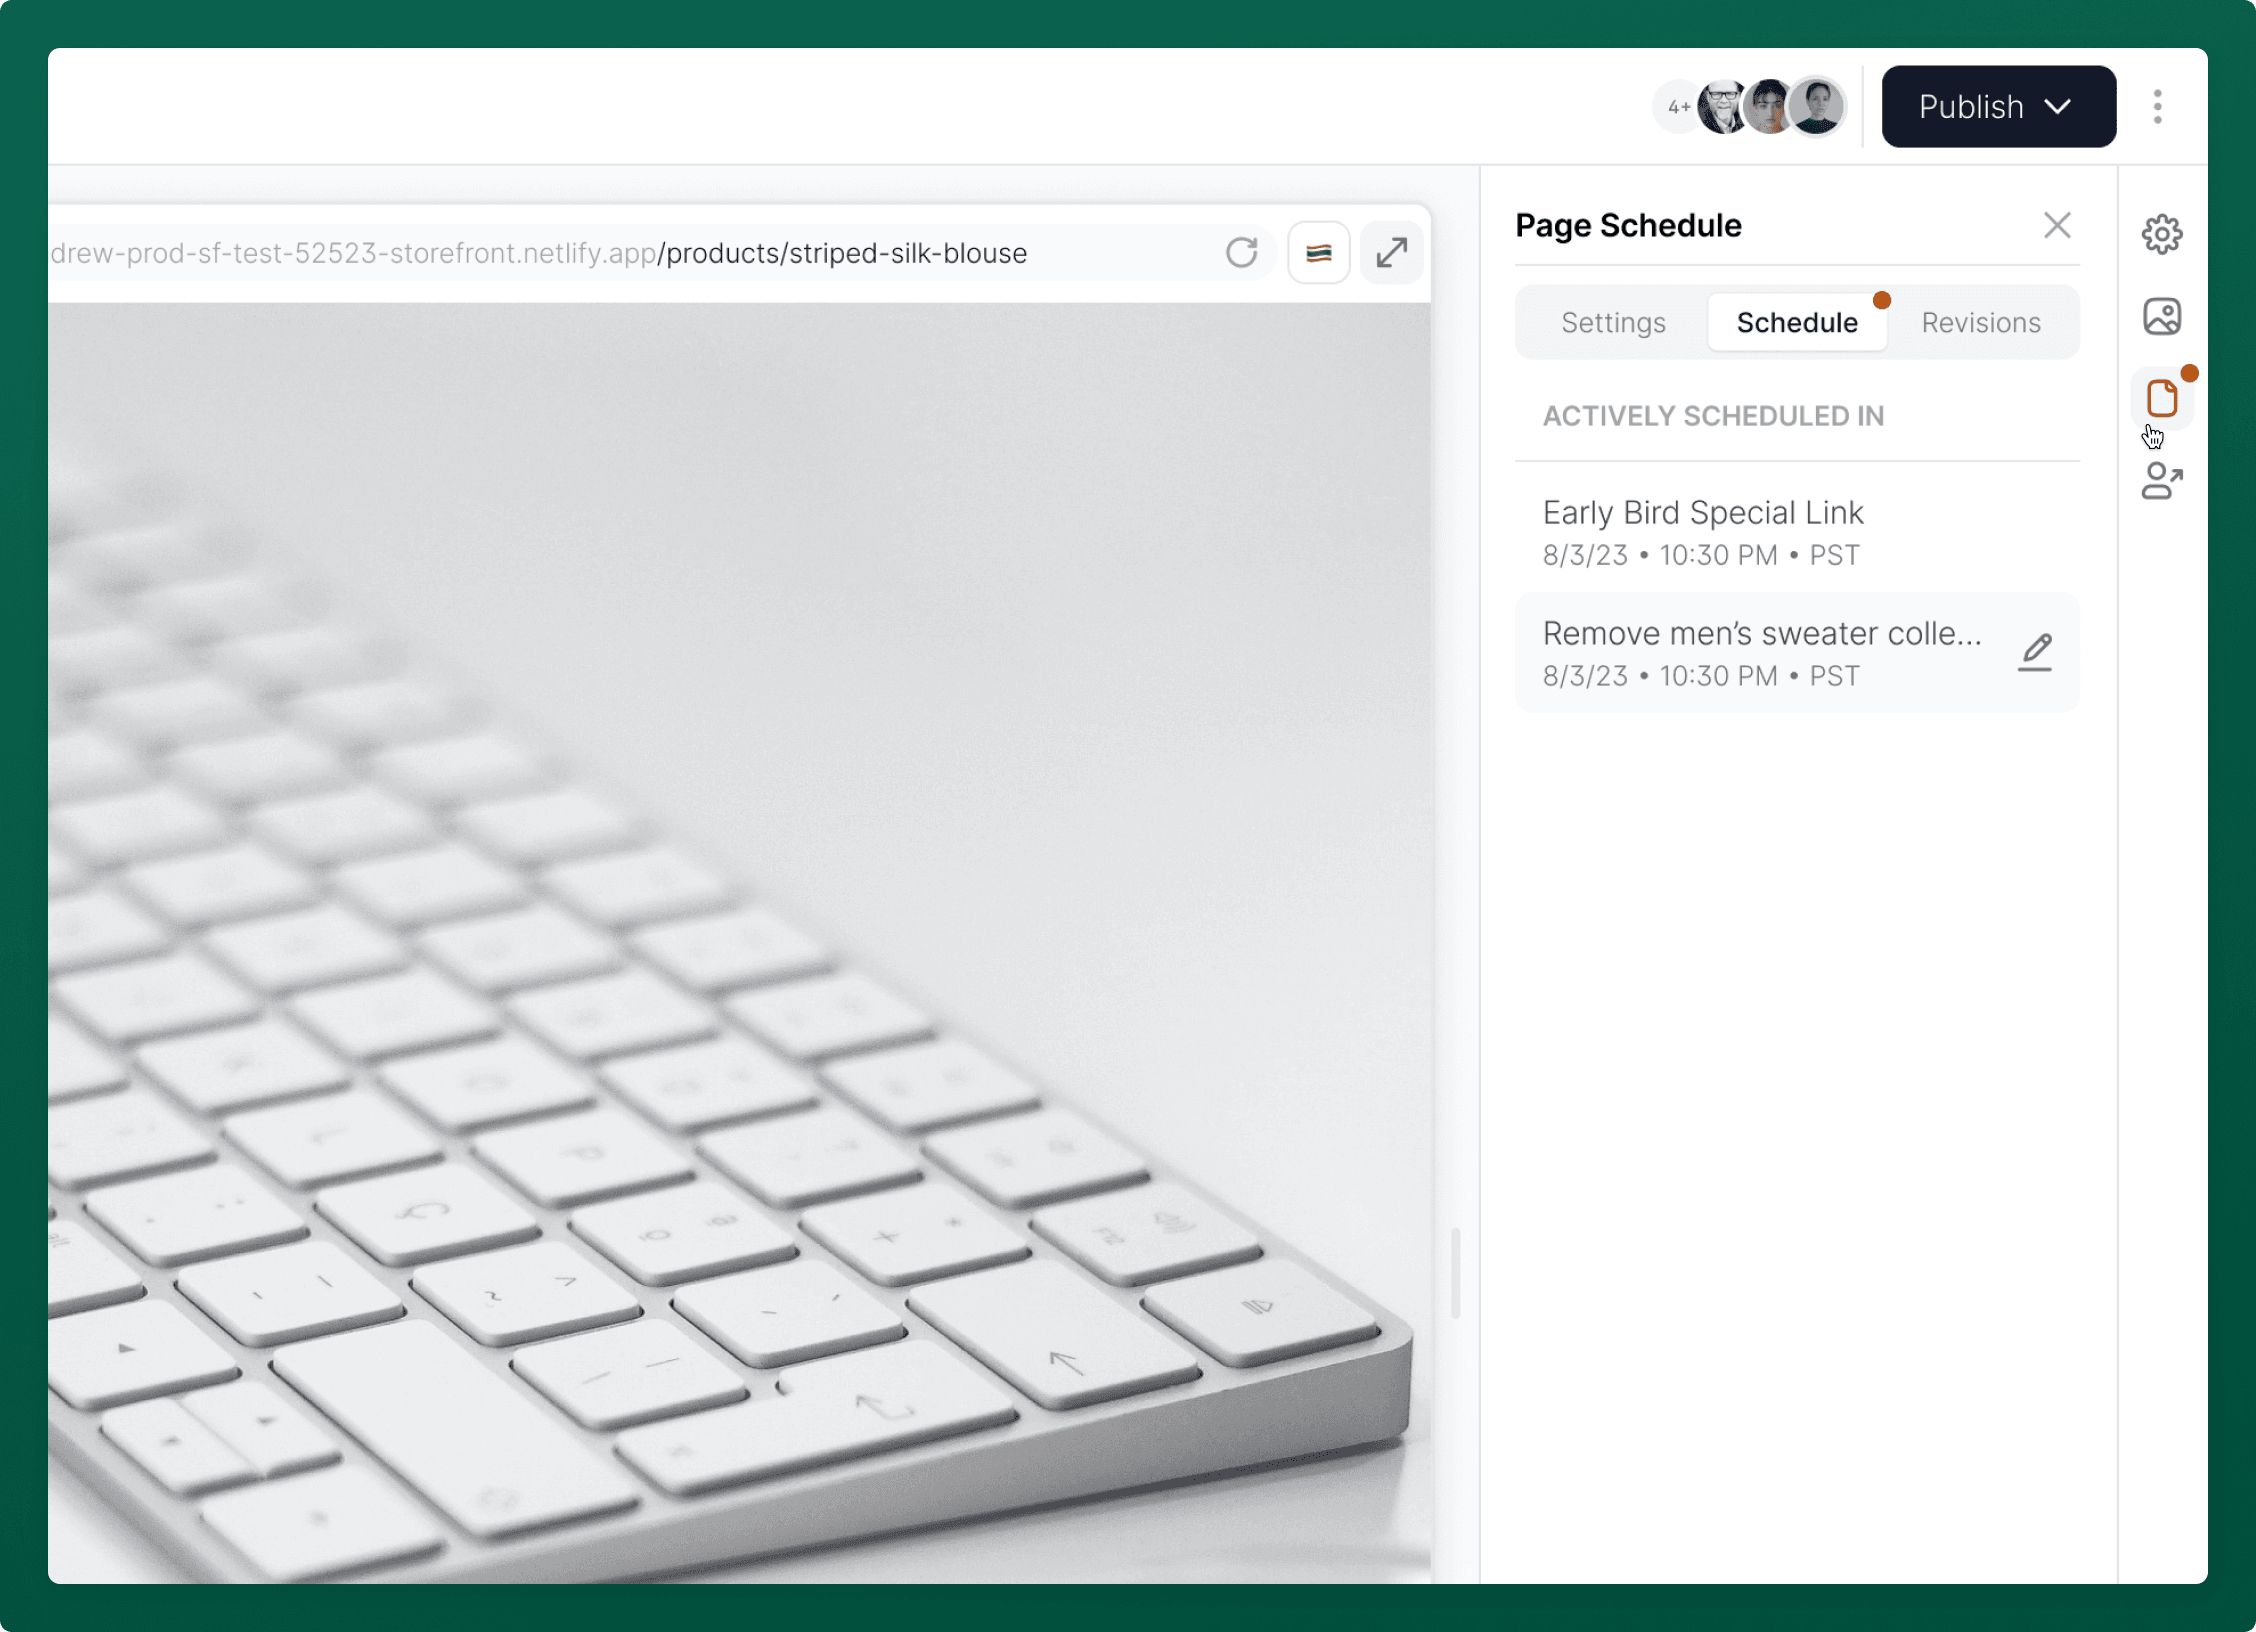
- Navigate to the Customizer and select the Scheduled button for the page.
- Choose the schedule to remove the page from and click the pencil icon.
- Remove the page from the schedule.
Using Pack Admin
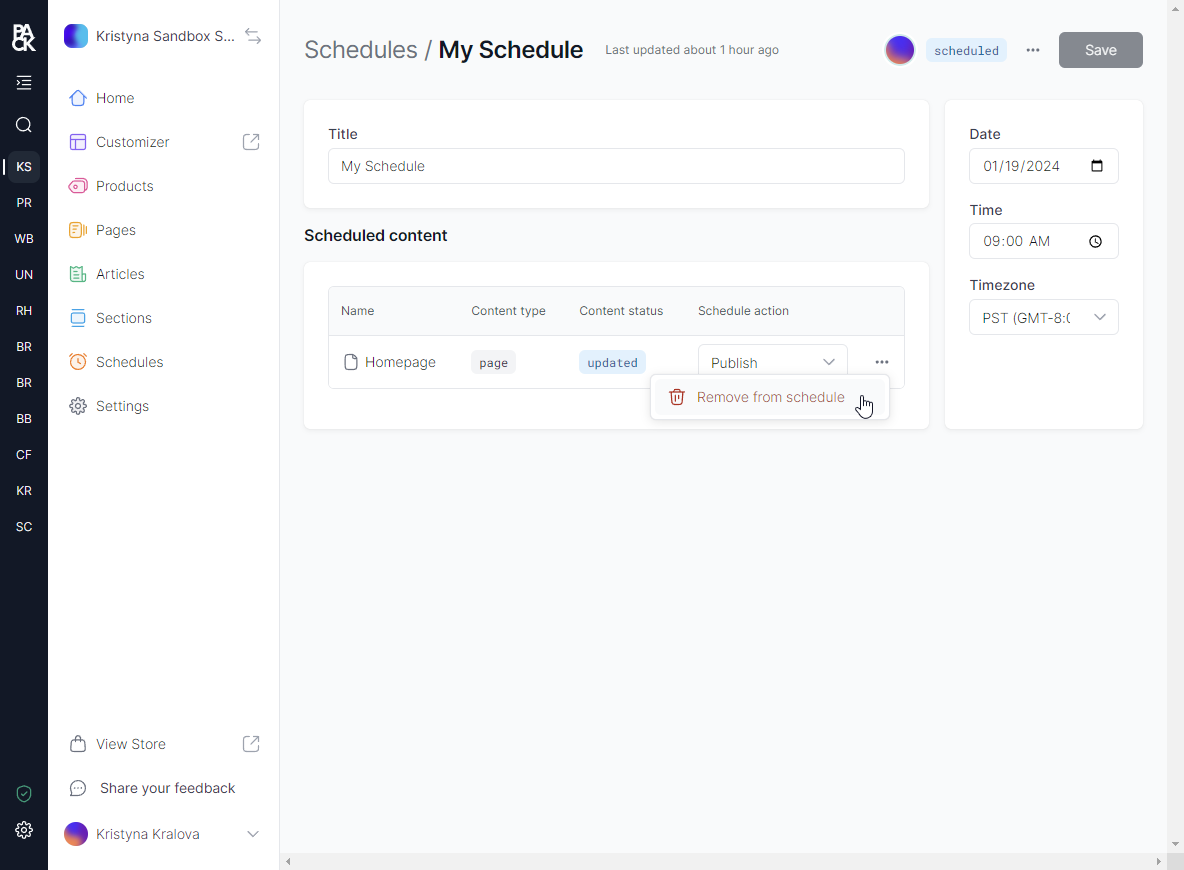
- Go to Pack’s admin, then click Schedules.
- Click on the schedule and remove the page.
Edit an Existing Schedule
Using the Customizer
- Navigate to the Customizer and select Scheduled.
- Edit the schedule details.
Using Pack Admin
- Go to Pack’s admin, then click Schedules.
- Click on the schedule to edit and save changes.
Run a Schedule Manually
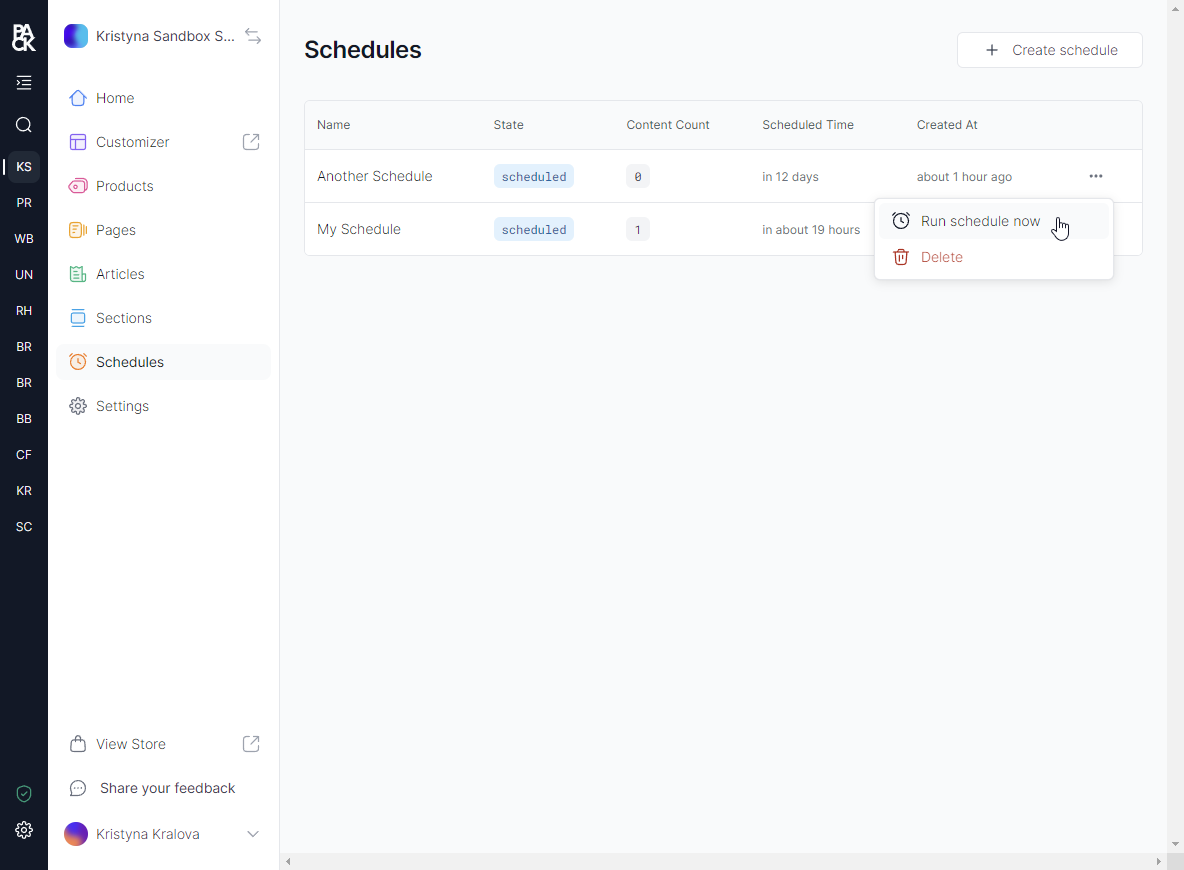
- Go to Pack’s admin > Schedules.
- Select Run Schedule Now for immediate deployment.
- Depending on your storefront's or shop's caching policy, your content may take time to appear even after content has been published.
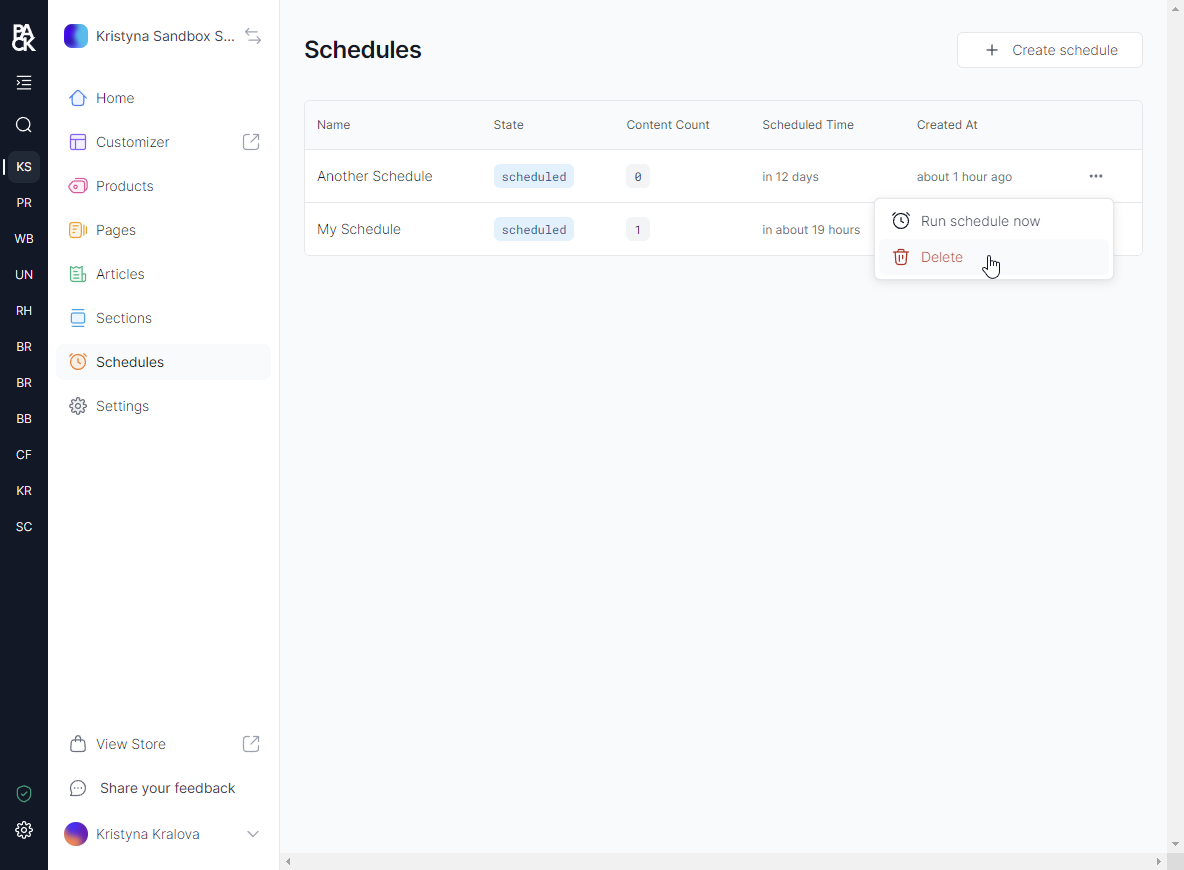
Delete a Schedule
A schedule that hasn’t run yet will not be executed if it's deleted. Old schedules that have already run can be deleted without any issues.
Using the Customizer
- Navigate to the Customizer and select Scheduled.
- Choose the schedule and delete it.
Using Pack’s Admin
- Go to Pack’s admin, click Schedules, and delete the desired schedule.